
Search sources
How to build a u3a allotment garden
Paddy from Taw u3a breaks down the process of building a u3a allotment.
It's National Allotment Week - Paddy from Taw u3a shares how their Allotment group built their beautiful allotment garden.

The creation of a shared allotment for members of our u3a group was due to the vision and drive of one member together with a small group of enthusiastic supporters. The underlying attraction is mainly about enjoying a relaxed, unhurried, low-stress engagement with nature and the outdoor life and the added bonus of a variety of fresh produce. Members agree what they wish to grow, attend in a pattern to suit themselves – individually or together with others - and help with weeding, hoeing, watering and general maintenance.
Also, the engagement of several people together means that the allotment never becomes an individual burden, doesn’t impinge on life’s other requirements and promotes friendship and well-being.
Here's how it all came together.
Stage 1: Planning and preparation
The space is actually a half-size allotment used mainly for potato growing by the former tenant before lying dormant for a while. The first tasks were clearing and digging over the plot, planning the layout of the paths and growing areas, edging and preparing the plots and establishing safe, flat paths for access by our members.
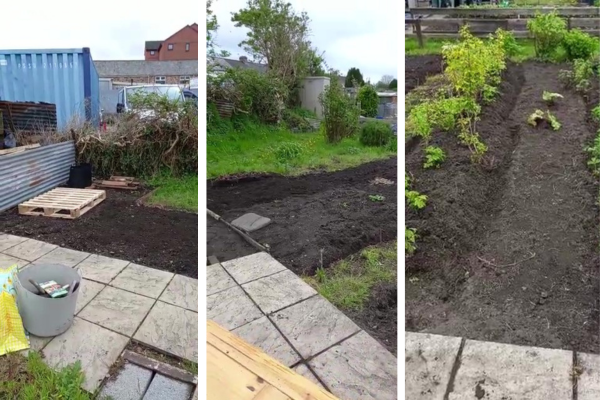
Work in progress
Stage 2: Essential structures
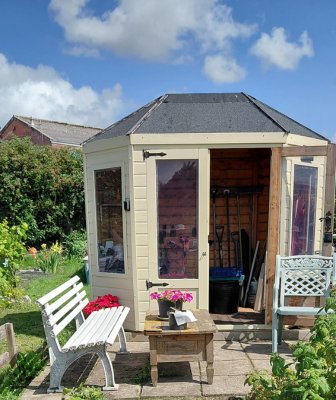
The former tenant had left a good-sized paved area and we were gifted a beautiful summer-house by a lovely U3A member as a memorial to her husband. We call it Edwards’ Shed in memory of him. It is the focal point of the allotment and is an essential storage area for tools, equipment, first-aid provision, safety equipment and personal items during visits.
The first requirement was a compost frame for all the cleared vegetation. This allows access at various heights as the waste vegetation is deposited and later on as the compost is removed. This was when we fell in love with pallets! Another pressing need followed. With no running water on site, we had to design a rainharvesting method – a constraint was the council requirement to contain it behind the shed. This design uses an old corrugated sheet on a wooden frame and supplies a 1200L IBC tank and a 200L tub. It was an interesting exercise for a retired engineer in the group.
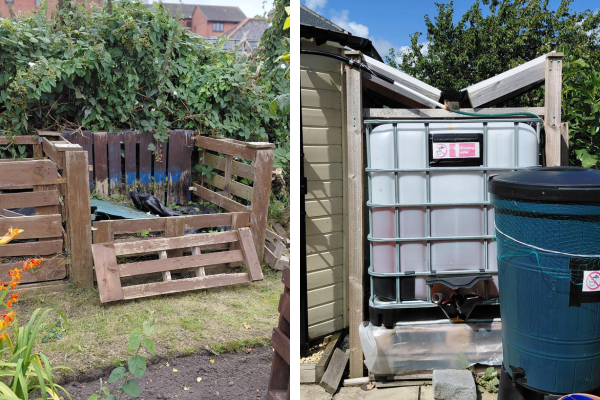
Left to right: Edward's Shed, the compost frame, the water tank
Stage 3: At last – what we came here for.
We were now able properly to move on to planting, growing, harvesting and enjoying the fruits of our labours. A final addition was the establishment of a flower and herb plot to encourage the essential allotment asset – pollinators
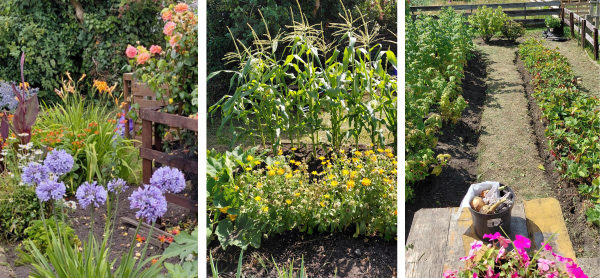
Left to right: flower and herb bed, vegetable bed, fruit beds
Previous & Next Articles in this category